Spelled flatbread with mozzarella

Spelled flatbread with mozzarella

Day has passed, how did you spend the weekend? We’ve brought the child to the petting zoo , we had a blast and the little girl is finally rising about the Dear pony ! She really wanted to go up as well on the horses ! hahaha … Sometimes we want these days ! .

Talking about food , sometimes we have dinner on the small table , just like the previous time where I made  delicious flatbread with herbs . (See here)

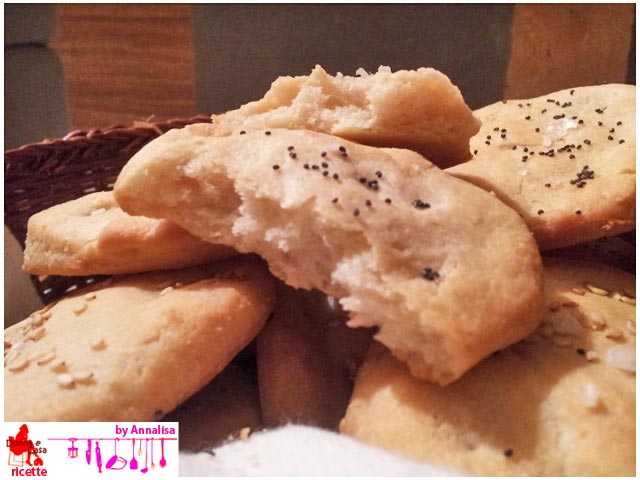
The other night , I prepared for the occasion panmozzarella by Luca Montersino, seen on the web, a recipe that has amazing mozzarella dough. By adapting the recipe to my personal taste , I thought we would give some tasty flatbread pan mozzarella .

I made ​​some small changes to the original recipe that did not spoil the result , I didn’t put the dough in the fridge and I made double rise.

Here you are the flatbread pan mozzarella spelled with sesame seeds and poppy :

Spelled flatbread with mozzarella
 
Preparazione
Cottura
Tempo totale
 
spelled flatbread with mozzarella with sesame seeds and poppy, fragrant and light to eat them all
Autore:
Ricetta: Appetiser
Cucina: Italian
Ingredienti
  • 300 g spelled flour
  • semolina enough for the pastry
  • 120 ml of milk
  • 6 g of yeast (about one third of the cube)
  • 30 g of butter
  • 1 mozzarella 125 g
  • 1 teaspoon salt
  • 1 teaspoon sugar
  • extra virgin olive oil to taste
  • sesame seeds and poppy seeds for garnish
  • coarse salt to taste to the surface
Preparazione
  1. Combine the flour, salt and sugar and place in a fountain.
  2. Dissolve the yeast in a little warm milk and put it in the center of the fountain.
  3. Combine mozzarella in the center previously crushed and pulped to loose remaining water.
  4. Also add butter into small pieces and brought to room temperature.
  5. Combine the remaining milk and mix. Form a homogeneous mixture, flouring from time to time with semolina.
  6. Let rise in warm place for 3-4 hours.
  7. After that wet your hands and flatten the dough with oil.
  8. With a glass forming disks that are arranged in a row on the baking sheet.
  9. Let them rise again for another hour.
  10. Then again with wet hands for oil, mash them lightly with your fingertips making small little holes, sprinkle with sesame and poppy seeds and bake at 200 ° C for 215 minutes approximately.

This dose will be about 10-15, depending on the size that you want to give.

I was thinking  to freeze some, however it was not possible!

Their  fragrance is amazing! ciaoooo
Spelled flatbread with mozzarella image 1 Spelled flatbread with mozzarella image 2 Spelled flatbread with mozzarella image 3

Bread ball with cheese surprise

Bread ball with cheese surprise

The receipe of today is born by chance, by the fact that I had advanced some grated  bread. I’m a bit inspired  to “Giorgione and kitchen garden”, a program of Gambero Rosso which I love! Maybe because it looks a bit like my kitchen, rich in vegetables, homemade and no frills. He is a very strong character, with his belly, his overalls who never gives up and his trays that remember those tose one my grandmother used! Hi.hi.hi. .. also my daughter loves him. One day he cooked breadballs  but a little different from what I propose today, a bit more complex.

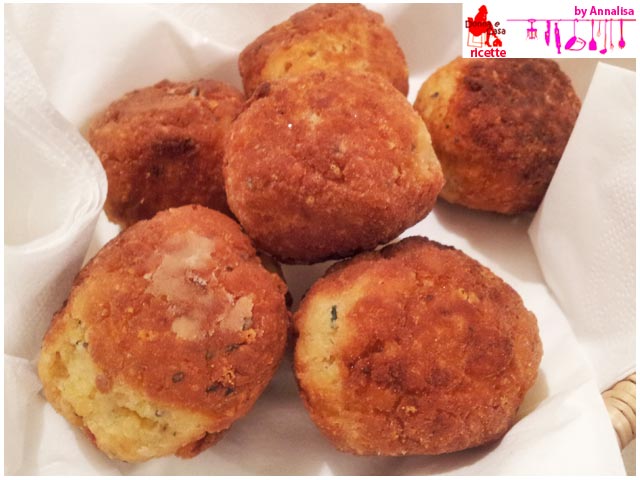
Not throw anything away, here are these balls of bread with cheese surprise super tasty and delicious:

Bread ball with cheese surprise
 
Preparazione
Cottura
Tempo totale
 
Bread ball with cheese surprise , meatballs at home simple and easy that everyone likes
Autore:
Ricetta: Second course
Cucina: Italian
Ingredienti
For about 6 little bread balls :
  • 100 g of bread crumbs
  • 2 eggs
  • 60 g of grated cheese
  • 6 cubes of flavorful hard cheeses to taste (for me asiago)
  • marjoram to taste
  • parsley
  • salt as necessary
  • salt to taste
  • olive oil or virgin
  • enough flour
Preparazione
  1. In a bowl combine the bread crumbs eggs, grated cheese, parsley, marjoram.
  2. Season with salt and a form an homogeneous mixture.
  3. Take a bit of dough, roll into balls and place in the center a cube of cheddar cheese.
  4. Close properly and pass the ball in the flour
  5. Cook in a skillet with olive oil when this one comes to temperature.
  6. Cook 5 minutes turning them.
  7. Serve piping hot

Byebye to everyone and good appetite

Bread ball with cheese surprise image 1 Bread ball with cheese surprise image 2

Octopus salad with crispy potatoes

Octopus salad with crispy potatoes

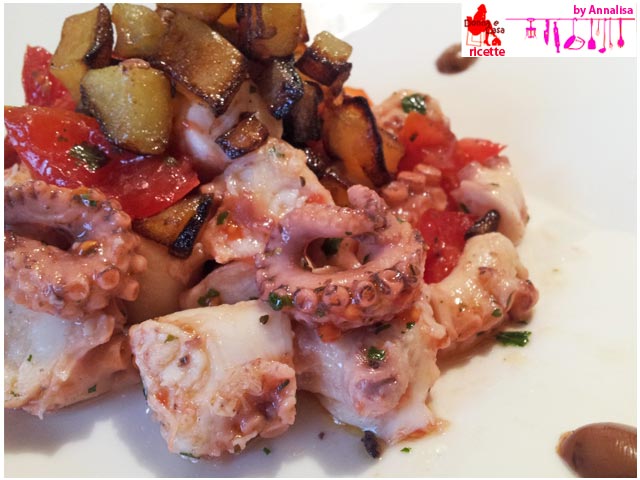
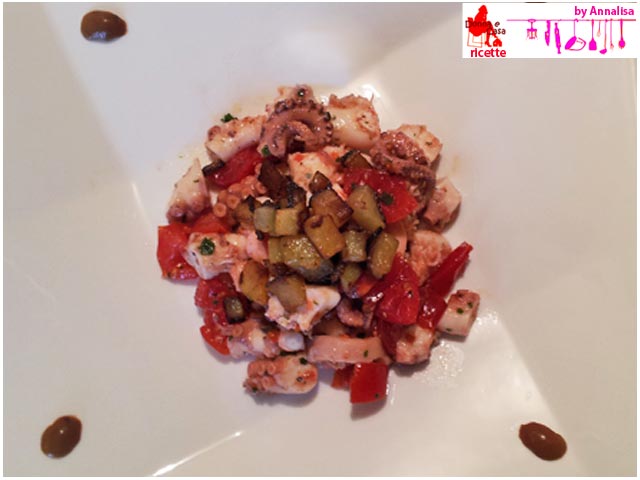
Hello everybody! The Carnival is over! Now for a little bit just fried .. Today I propose the octopus salad, a simple but favolous recipe that I love to eat on every occasions. For changing a little bit instead of putting boiled potatoes I preferes to make them crispy, a detail that even if a small part it makes the  difference …

Octopus salad with crispy potatoes
 
Preparazione
Cottura
Tempo totale
 
Octopus salad with crispy potatoes, an alternative to the classic recipe
Autore:
Ricetta: Second Course
Cucina: Italian
Serves: 4
Ingredienti
  • 1 medium-size octopus
  • 1 carrot
  • 2 potatoes
  • 1 stalk of celery
  • a glass of white wine
  • extra virgin olive oil
  • olives
  • some cherry tomatoes
Preparazione
  1. Take the octopus, rinse under cold water, clean it (in the head, on the back where the little hole and the two eyes)
  2. Take a large pot, fill it with cold water, add the carrot celery potato, a drop of wine and a drizzle of extra virgin olive oil.
  3. Bring to a boil and cook for an hour and a half.
  4. Allow to cool octopus in its cooking water. Drain, peel it and make it into cubes.
  5. Put it in a bowl along with the tomatoes and olives. Drizzle with olive oil, season with salt and sprinkle with parsley.
  6. Meanwhile, cut a potato into small cubes and roast it with a little 'oil.
  7. Serve the octopus salad with small dice of potato crisp


Octopus salad with crispy potatoes image 2 Octopus salad with crispy potatoes image 3 Octopus salad with crispy potatoes image 4

Pancake of mardis gras fried or baked

Pancake of mardis gras fried or baked

How did you spend the Carnival Sunday? I brought my daughter to the parade, but there was no way to dress her up. Se didn’t want the indian dress, I had to remove her nose painted by kitten and finally she wanted to remove the crown princesses ! ….. in short, she says that next year she’ll dress like a sword .. ahahahha, but that fairy and princess. Well she will be a little Joan of Arc!

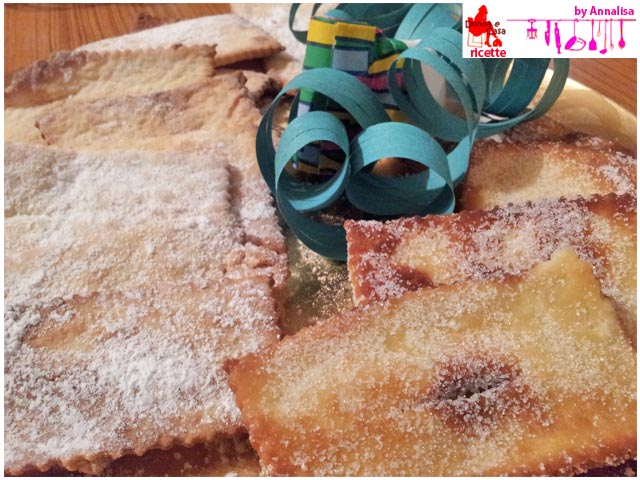
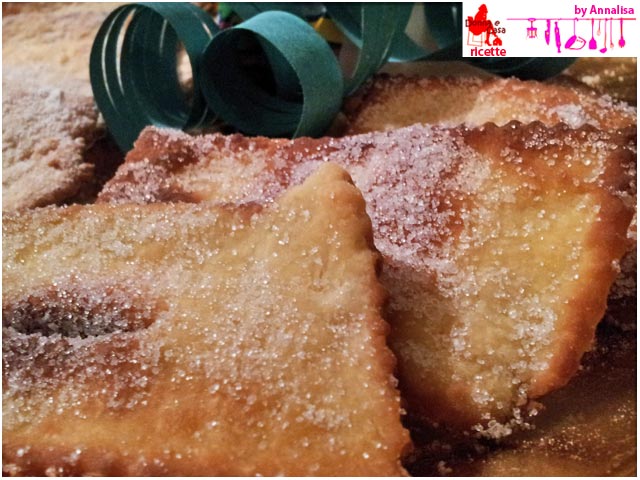
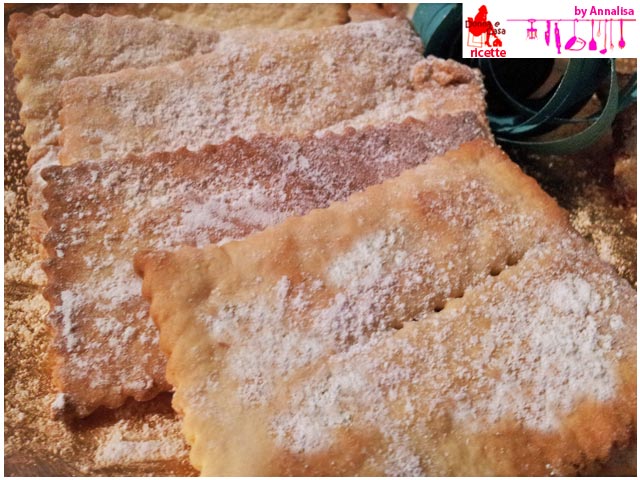
Here is ready ready for Mardi Gras! a nice tray of baked and fried Crumpets!

The same preparation can go in the oven or fried as you prefer. Fried, however, are coveted!!!

Pancake of mardis gras fried or baked
 
Preparazione
Cottura
Tempo totale
 
Pancake of mardis gras fried or baked, the cake that you can not miss at the carnival
Autore:
Ricetta: Dessert
Cucina: Italian
Ingredienti
  • 250 g of flour type 00 + 50 g for the pastry
  • 1 egg
  • 50 g of sugar
  • 30 g of butter
  • 100 ml of milk
  • 1 teaspoon of baking powder
  • 2-3 tablespoons of liqueur (for me Marsala)
  • olive oil for frying
  • icing sugar to taste
  • Granulated sugar to taste
Preparazione
  1. Making the fountain with the flour sifted with baking powder already
  2. Add sugar, egg, butter in the center, liquor and milk.
  3. Mix and let stand for thirty minutes.
  4. Then take the machine for pasta and pull the dough up to No. 5. (or with a rolling pin)
  5. At this point, cut with washer rectangles and make a cut in the middle.
Baked version:
  1. Place half of the rectangles on a baking sheet and cook at 180 degrees for 10 minutes until they turn red a little bit.
  2. Remove from the oven and sprinkle with powdered sugar.
Fried version:
  1. For the other half, well heat the oil in a frying pan and fry a couple of minutes, dip in granulated sugar immediately.

For my family I made all fried!!! mmm…. Good mardis gras to all!

Pancake of mardis gras fried or baked image 1 Pancake of mardis gras fried or baked image 2 Pancake of mardis gras fried or baked image 3

Cicerchiata of Abruzzo

cicerchiata of abruzzo

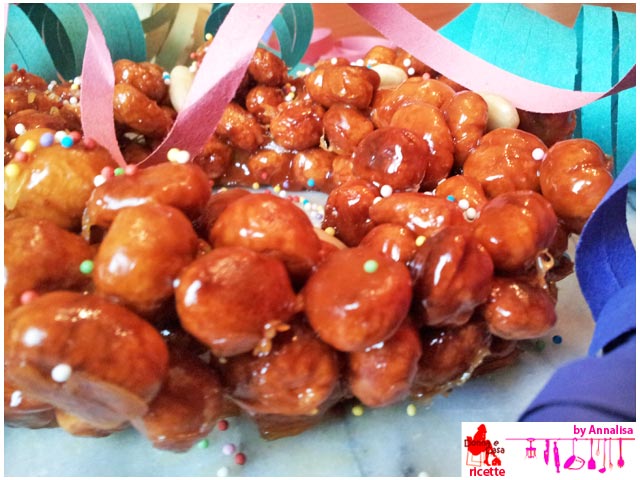
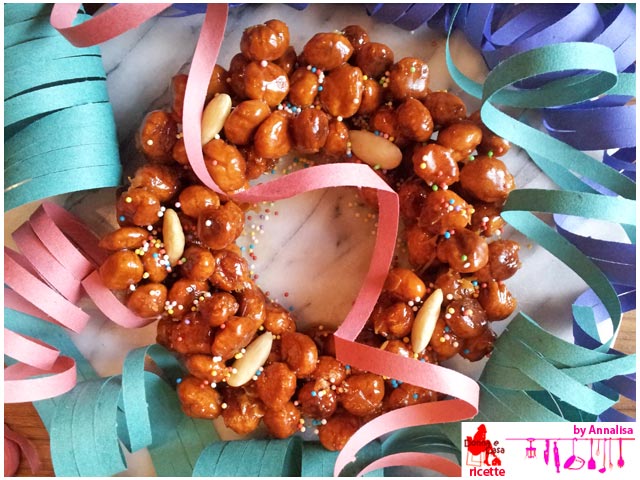
Here is  Carnival! Like every year it’s celebrated with pancakes or sweets, here I present the typical dessert that my grandmother made during Carnival, especially when there were so many people: The cicerchiata of Abruzzo. The Neapolitans Know this, for them it is called struffoli that they made on  Christmas, while the Abruzzi calls cicerchiata, balls like chickpeas ( cicerchie ) assembled with honey.

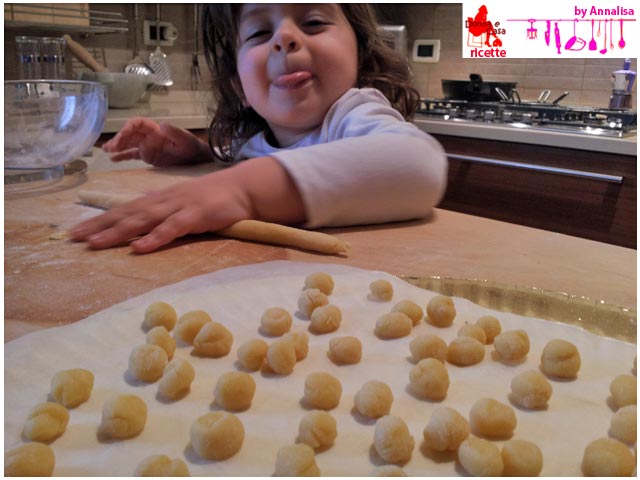
I enjoyed it so much hat all the family help me, even my baby that  funny making little balls , that’s a joy, every ball she was licking the whole hand … ahahahha that go well!

it’s nice because you can do various shapes, my grandmother often made donut and the recipe is easy because the grandmother’s recipes are all measured spoon, here cicerchiata of our family tradition:

5.0 from 1 reviews
Cicerchiata of Abruzzo
 
Preparazione
Cottura
Tempo totale
 
Cicerchiata of Abruzzo, sweet typical of the Abruzzo region for carnival made ​​with Grandmather's recipe
Autore:
Ricetta: Dessert
Cucina: Italian
Ingredienti
The "law" says, for each egg one tablespoon of sugar and a tablespoon of olive oil and 100 g of flour type 00
  • 2 eggs
  • 2 tablespoons sugar
  • 2 tablespoons extra virgin olive oil
  • 200 g of flour type 00
  • oil for frying
  • 10-12 tablespoons of honey
  • tails dolorate
  • some almonds peeled
Preparazione
  1. In a large bowl , combine sugar, eggs and oil , add the flour and knead until it forms a smooth paste .
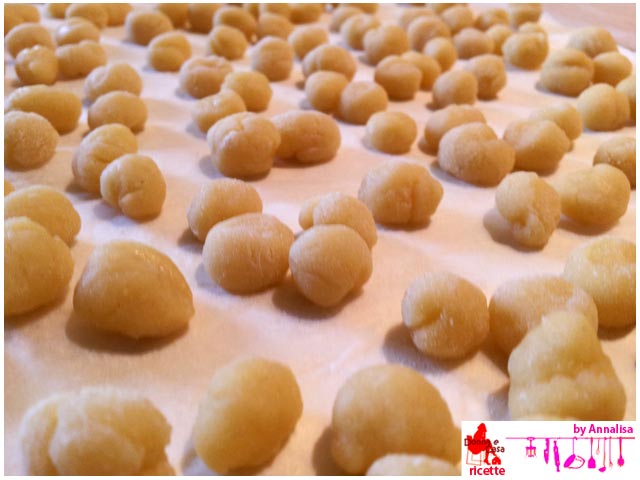
  2. Form as many balls as small chickpeas, also a tad bit less when you bake always swell a bit ' .
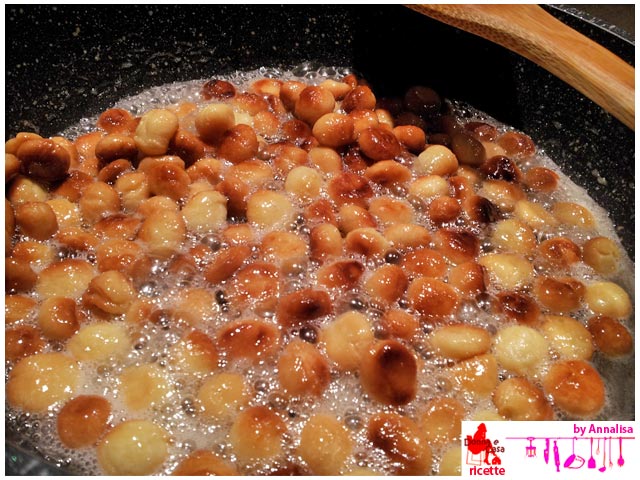
  3. Heat oil in a frying pan and cook the balls until golden turning occasionally, ( about 5 minutes )
  4. Drain on paper towels.
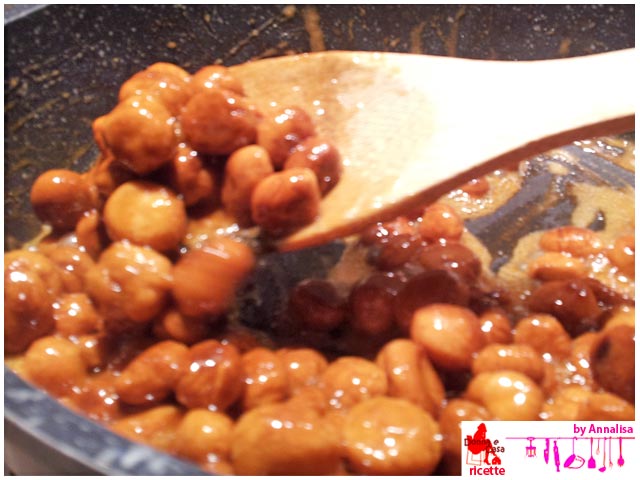
  5. Meanwhile heat the honey in a pan,it is formed just ' froth , put the little balls and cook 5 - 10minutes in honey ,they should caramelize and absorb the honey.
  6. At this point take the mold that has' decided to use and wet. Put the balls to give the desired shape and make them dry. Sprinkle with colored tails and peeled almonds. Allow to cool and enjoy it
Note
the flour is slightly back with the dose , depending on moisture ' , gfrandezza the egg , then adjust it a bit ' in theory should be 100 g per egg .

Next time I will opt for it in  cups colored portion, it is more convenient to serve and eat too.

Do not turn away from these screens tomorrow other pancakes!!! :):):)

Cicerchiata of Abruzzo image 1 Cicerchiata of Abruzzo image 2 cicerchiata of abruzzo image 3 cicerchiata of abruzzo image 4 cicerchiata of abruzzo image 5 cicerchiata of abruzzo image 6 cicerchiata of abruzzo image 7 cicerchiata of abruzzo image 8

Cod with potato crust tasty

cod with potato crust tasty

Hello hello we are here again! Today, step right to talk about food. For the recipe I took inspiration from the beautiful ideas of “Il mio saper fare di Marisa“, a blog full of ideas, and I love it.

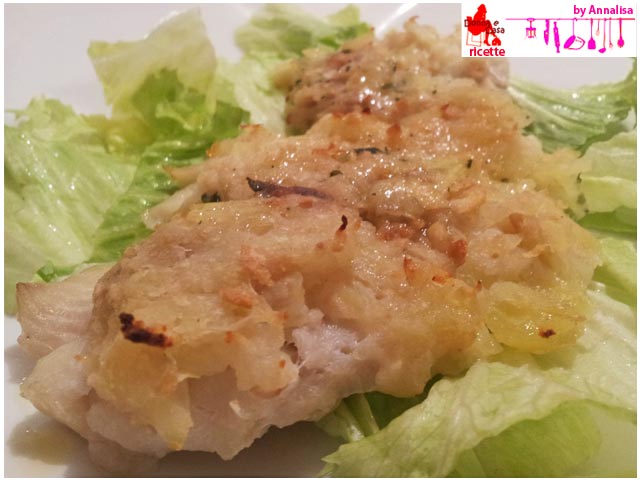
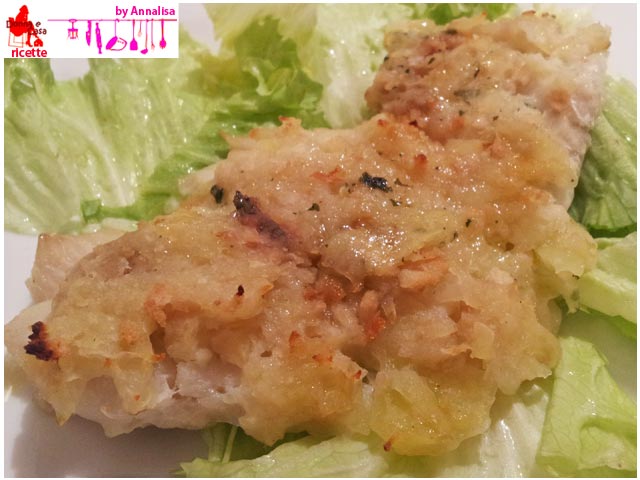
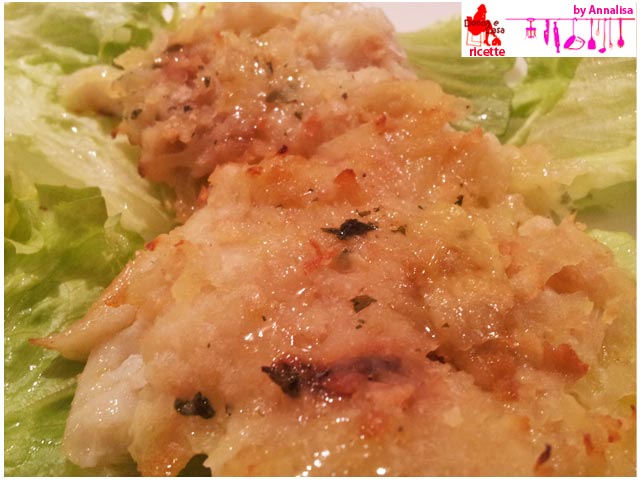
She had the salmon in a crust of potatoes and onions great, and since I love the fish in the oven with the crust, I opted for the cod with a potato crust a little different:

Cod with potato crust tasty
 
Preparazione
Cottura
Tempo totale
 
Cod with potato crust tasty, according of fish, fast, crisp and light
Autore:
Ricetta: Second course
Cucina: Italian
Ingredienti
  • 4 slices of cod
  • 1 large potato
  • 30 g of breadcrumbs
  • ⅔ anchovies
  • parsley
  • 1 clove of garlic
  • extra virgin olive oil
  • salt to taste
Preparazione
  1. In an oiled baking sheet lay the slices of cod previously washed and a little salt on the surface.
  2. Grate the potato flakes and place in a bowl with bread crumbs, anchovies and chop the parsley
  3. Bread with this mixture the surface of the fish and soak it again with a little oil.
  4. Add in baking dish two clove of garlic and bake at 180 ° C for 30 minutes, until golden.


Cod with potato crust tasty image 1 Cod with potato crust tasty image 2 Cod with potato crust tasty image 3

Rolled turkey stuffed with artichoke cream

Rolled turkey stuffed with artichoke cream

Hello guys! I feel the spring in the blood! I started to go a bit to the park in the afternoon to bring my little who is learning to ride a bike! I understand from March to September with his back bent … In September I book the massage therapist .. ahahahaha

But let’s talk about food! Today I propose one more recipe from my friend Paola, a cousin of my husband. Whoever follows me already knows, I cooked some of his fantastic recipes including this one that is accessible to all and easy. We went to dinner with her a few weeks ago and here is this fantastic roll. The only thing I changed is the type of meat, I used the turkey meat doing a roll, and she had the chicken rolls. However, with this recipe are fine with the two kind of white meat.

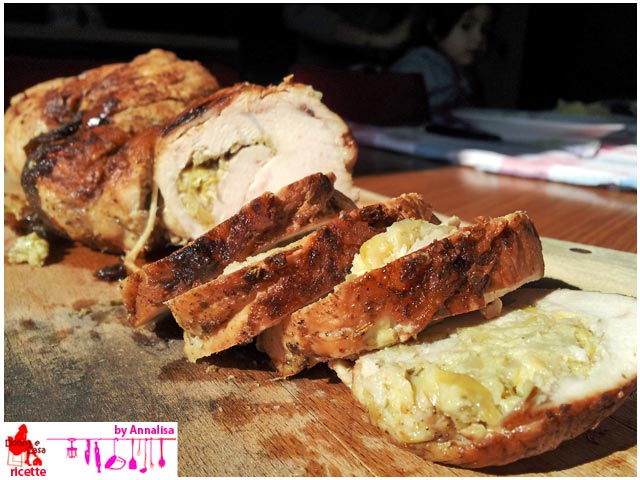
Here’s the roll of turkey stuffed with artichoke cream:

Rolled turkey stuffed with artichoke cream
 
Rolled turkey stuffed with artichoke cream, refined and delicate
Autore:
Ricetta: Second course
Cucina: Italian
Ingredienti
  • 5 slices of turkey breast
  • 200 g of artichokes in oil
  • salt to taste
  • grass, sage and rosemary to taste
  • extra virgin olive oil
  • 1 shallot
  • white wine to taste
Preparazione
  1. Arrange the turkey slices close together on baking paper, add salt a little at the surface.
  2. Meanwhile take the artichokes, finely shred and blend with some of their preserve oil so as to obtain a cream.
  3. Apply this cream with slices of turkey, form a roll and tie with kitchen twine.
  4. In a sauté pan with a little oil previously finely sliced ​​shallots, add the roll salt to taste, add the herb sage and rosemary and cook for an hour, turning it over, until golden, basting with white wine.
  5. Allow to cool, cut the twine and slice the slices which are then heated nell'intigolo and that 'format.
Note
Excellent with the well
The recipe calls for the artichokes, homemade much better if you have them! Otherwise you can cook the artichokes with vinaigrette and blend with the cooking water.

Now I greet you! Good week to all!

Rolled turkey stuffed with artichoke cream image 1 Rolled turkey stuffed with artichoke cream image 2 Rolled turkey stuffed with artichoke cream image 3 Rolled turkey stuffed with artichoke cream image 4

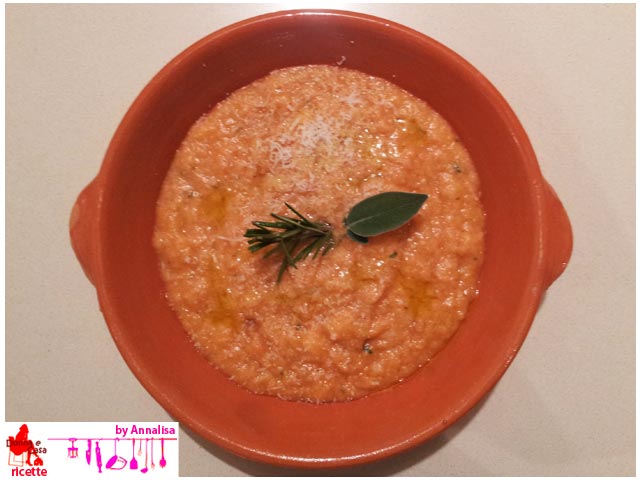
Soup Baked Bread

Soup Baked Bread

Today’s recipe is also a dish of memories, but not in the south this time, belong to the culinary tradition of Bergamo grandmother and aunt.
More precisely Andreina’s aunt, the sister of my grandmother. A frail but fearless woman, who made the first and the second world war! You do! I remember her stories, during the war she was ill with typhoid fever, she was given the last rites, but she is resurrected with that, she died at the ripe old age of 93 years!
She told me of the planes, the bombing, the Germans, everything always close to the mythical stove where she had always supported a pan that often contained her bread soup.
You have to know that she was a skinny little woman, baby,she  was not married and  she suffered a bit of solitude, ultimately we felt a little, then I screamed … ahhahha
She always ate little and ultimately toothless even more, so a pan of the bread soup lasted few days. When my grandmother went to Milan on “holiday” I was at lunch with her ​​and I remember her buttered carrots and the legendary Soup Baked Bread.

Soup Baked Bread
 
Preparazione
Cottura
Tempo totale
 
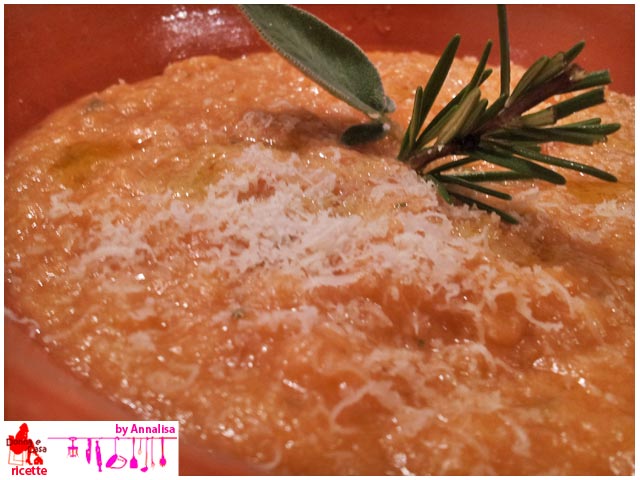
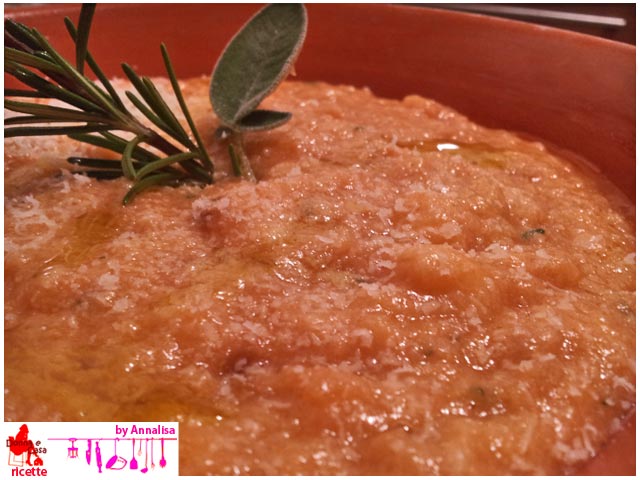
Bread soup first course poor tradition of bergamo
Autore:
Ricetta: First course
Cucina: italian
Ingredienti
  • 200 g of bread
  • vegetable broth as needed
  • 3-4 tablespoons of tomato
  • parsley
  • 1 bay leaf and sage
  • salt to taste
  • extra virgin olive oil
  • 1 shallot
  • grated cheese
Preparazione
  1. Sauté with a little olive oil shallots
  2. Add the bread previously chopped into small pieces
  3. Cover with vegetable broth
  4. Add the tomatoes, parsley, bay leaf, sage, a little oil and cook for about twenty minutes, until the bread has softened well.
  5. If you wish, you can whip it a bit, I did it for the child.
Note
This is a family recipe, or at least as my aunt and my mom ddi. There is also the version without tomato, with the addition of milk and somene eventually bring the eggs.

I say goodbye and good week!

Soup Baked Bread Soup Baked Bread image 2 Soup Baked Bread image 3

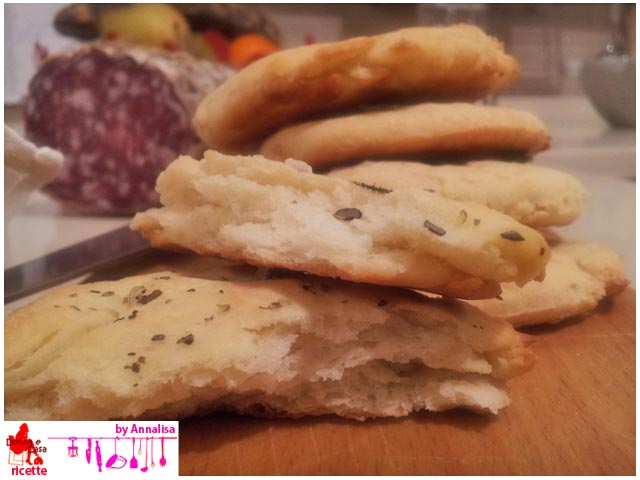
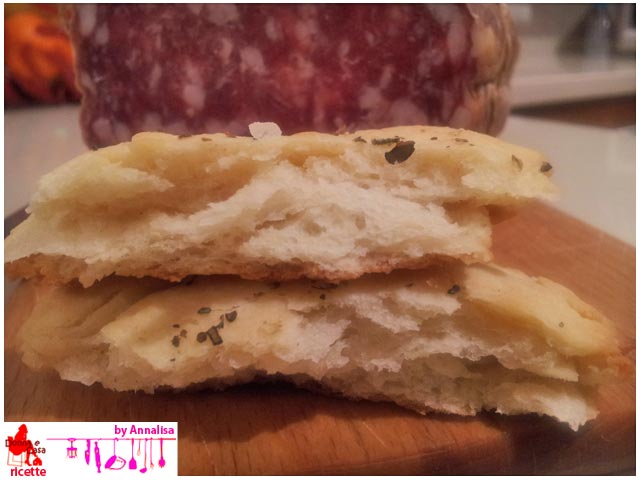
Small flatbread with herbs

Small flat bread with herbs

As I told you in my previous post, yesterday we ate in a way a little bit unusual! is already the second time that we do it with Romina and she gets mad because it’s a novelty.

We eat sitting on the cushions, as do the Indians hahaha, appliance does good for the table, our little table is also very low, so for this kind of thing is very comfortable, a nice candle in the center and  that’s super!

Therefore, along with the magnificent carrot chips violets were also fantastic scones with herbs that have accompanied with mortadella, salami, and a nice glass of red wine! The best of life!

Here is the recipe for little flatbread with herbs:

Small flatbread with herbs
 
Preparazione
Cottura
Tempo totale
 
Small flat bread with herbs, an alternative to the usual bread to accompany the meal
Autore:
Ricetta: Bread
Cucina: Italian
Ingredienti
  • 150 g of semolina
  • 150 g flour 00
  • 150 ml of milk
  • 20 ml extra virgin olive oil
  • 1 scant teaspoon salt
  • 1 teaspoon sugar
  • half a packet of dry yeast
  • salt
  • extra virgin olive oil as needed for brushing
  • enough herbs (rosemary, oregano, marjoram, sage)
Preparazione
  1. Combine the two flours and mix with a teaspoon of sugar and salt
  2. Dissolve yeast in warm milk
  3. Place the flour, pour in the center of the milk with the dissolved yeast, begin to knead and add the oil. Form a smooth and homogeneous mixture and let it rise for 3-4 - hours until doubled in volume.
  4. At this point, take the dough and your hands are wet with oil, apply like we do with the pizza.
  5. With the help of glass, cut circles in which we will have on the baking sheet.
  6. Lead to the second rising for at least 1 hour
  7. After that resume and pigiarle obtaining some nice humps.
  8. Chop the herbs, brush the surface with oil, add a few grains of coarse salt and bake at 200 ° C for 15 minutes.

This is the dose for about a dozen small flat bread

Notes: I used a yeast that is new to me but I’m not mad, in fact recommend brewer’s yeast or better p.m.

Since my husband loves me, when I add in the shopping list to buy the baking powder because I finished it, he obviously buy one for pizza, does nothing on the package if there is a mega focacciona almost bigger than the paper! So I have to  use it!

Hello ciaoooo

Small flat bread with herbs Small flat bread with herbs imma5 Small flat bread with herbs imma4 Small flat bread with herbs imma3 Small flat bread with herbs imma2

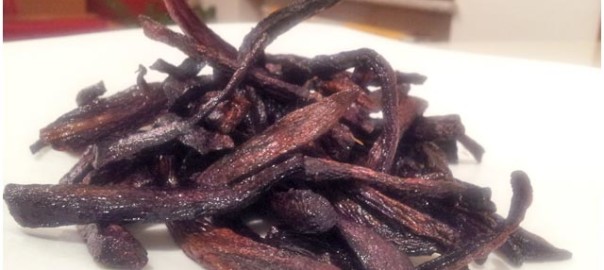
Chips of purple carrots

Chips of purple carrots imma3

Hello people!! Today I ‘m talking of food now! Today’s recipe is a winner.

Is the second time I bought  purple carrots, this year I’m looking for a lot of new vegetables that I’ve never cooked before, including these one! I stimulate the imagination! Then we are lovers of vegetables!
Recently, I was convinced that they were a cross between carrot and beet, however, thanks to dear Edvige Memento Solonico that there has always been a lots of superuseful information, I discovered that it’s a vegetable older than our carrots , which have a lot of qualities and a strong antioxidant! So that’s fine! Instead of anti-wrinkle creams … purple carrots!
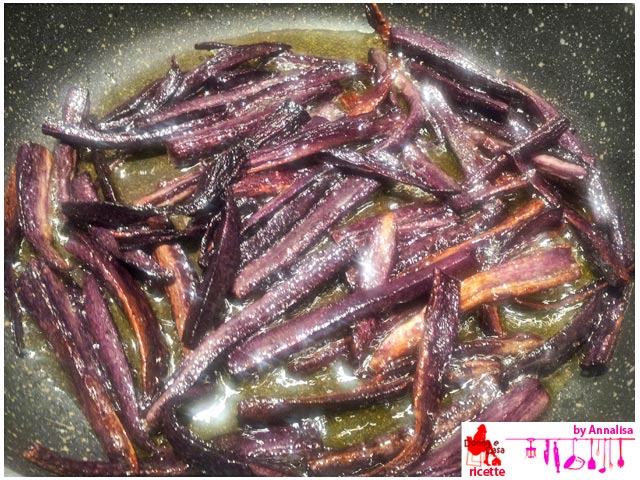
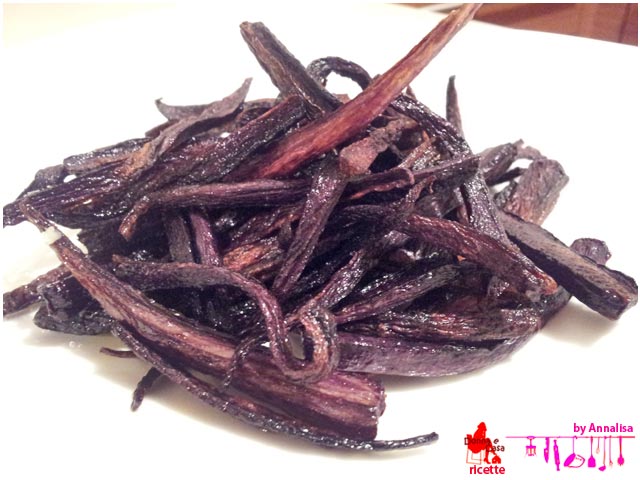
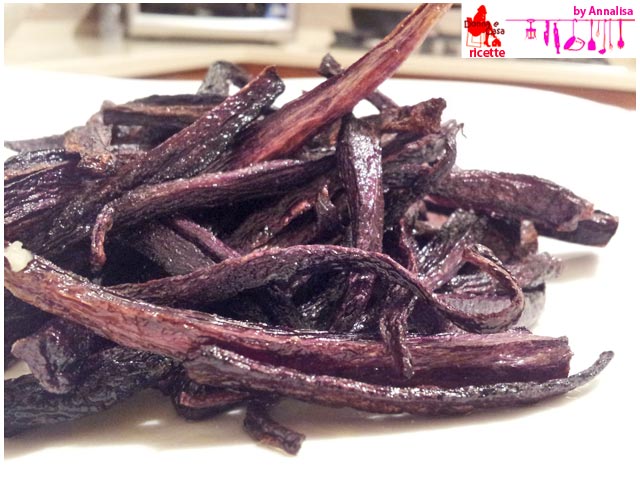
The first time I bought it I made a puree but I was not impressed, so I have not posted it, this time I had the idea of cooking them as if they were potato chips,! just as we do when we make home fries with potatos and without deep fryer, the way home.

Let’s say that I do twice due at noon, but I have literally burned! oh yes it happens! I think you also Cracco little he burned something in his life! .. ahahahha …
I was too excited I have not given up and tonight I remade, among other things, we also decided to eat in a way a bit unusual, but I’ll tell you in the next episode, in order to avoid extensions.
Step straight to the recipe …
Chips of purple carrots:

Chips of purple carrots
 
Preparazione
Cottura
Tempo totale
 
Chips of purple carrots, fried in a tasty and colorful effect
Autore:
Ricetta: Side dish
Cucina: Italian
Ingredienti
  • 8 purple carrots
  • olive oil or for frying enough
  • salt to taste
Preparazione
  1. Cut carrots into julienne, slice the pear 'should not be too fine,
  2. Wash and dry
  3. Meanwhile in a pan bring the oil temperature, put carrots and high heat, cook for about ten minutes, turning them occasionally until they are crispy. Attention to cooking, remove them immediately as they become a little golden otherwise you will burn in an instant.
  4. A nice sprinkling of salt and are ready to be devoured!

Night everyone!

 Chips of purple carrots fried Chips of purple carrots imma3 Chips of purple carrots imma2 Chips of purple carrots imma1

Vegetable pies baked with rice

Vegetable pies baked with rice

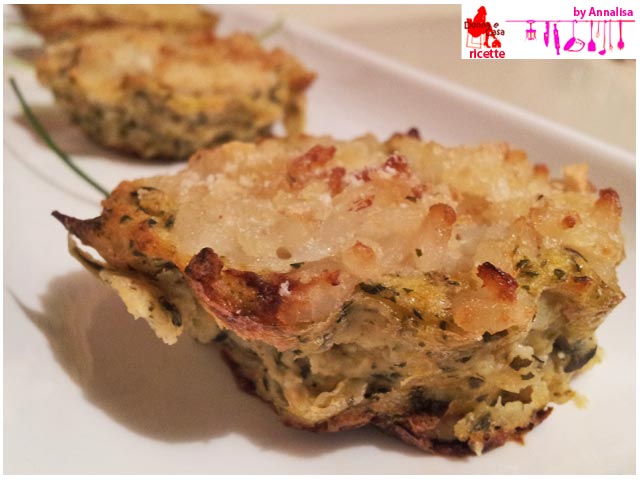
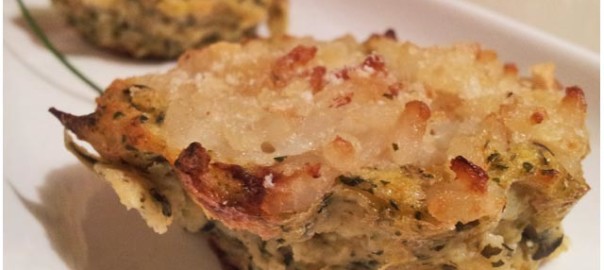
Today’s recipe is a bomb: it’s healthy, light, fast, tasty, great for recycling and the kids eat it willingly at least mine! She always makes the TRIS!!

I did this receipe because I had rice and vegetables advanced, if you don’t have rice, just make it boil a handful. The vegetables are good for any type.

Here are the vegetable patties:

Vegetable pies baked with rice
 
Vegetable pies baked with rice, delicate and croccoso. Really like the children
Autore:
Ricetta: second course
Cucina: Italian
Ingredienti
  • a tuft of chicory
  • some little line of cauliflower
  • 1 potato
  • 1 stalk of celery
  • 1 carrot
  • parsley
  • 40 g of grated cheese
  • 20 g breadcrumbs
  • 1 egg
  • parsley to taste
  • a handful of rice
  • extra virgin olive oil
  • salt to taste
Preparazione
  1. Blanch the vegetables and the rice in salted water
  2. Put all the vegetables in a blender, combine the egg, cheese, breadcrumbs, parsley, salt and whisk well.
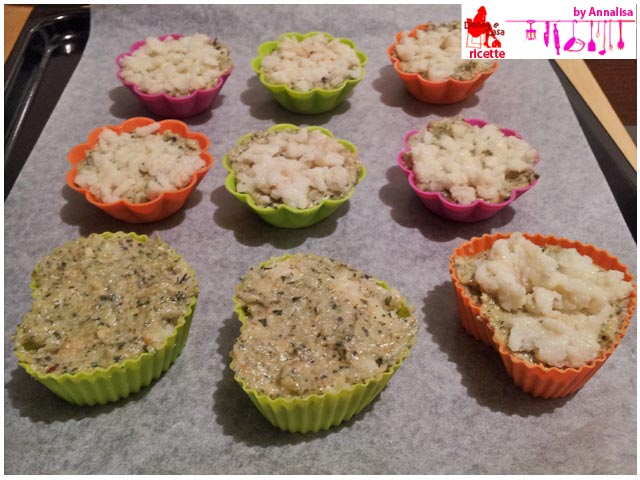
  3. Put the mixture in the appropriate cups.
  4. On the surface, cover with the previously cooked and drained rice.
  5. Dust the surface of each cups with breadcrumbs and a drizzle of oil.
  6. Bake 15 minutes in the oven, until the surface is good colors, so that the rice appears nice crispy.

The dose is more or less for 8-10 ramekins, then it depends on the size of your chessels.

Now I greet you …. good evening!

Vegetable pies baked with rice to fire Vegetable pies baked with rice sinlge Vegetable pies baked with rice

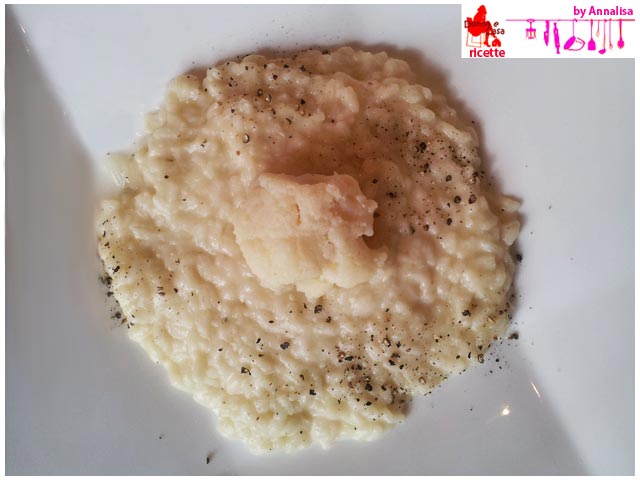
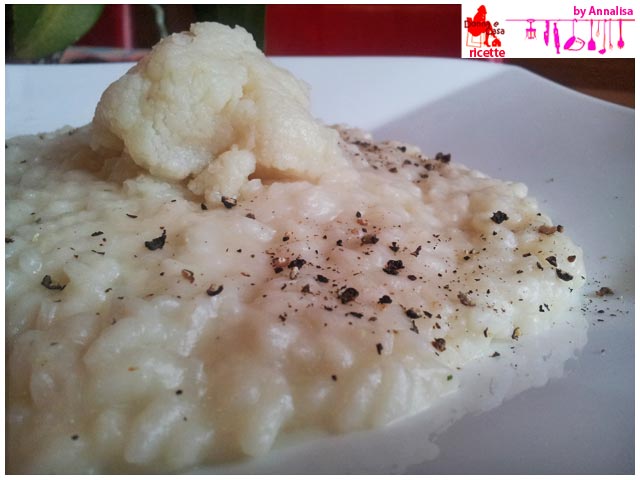
Rise with Cauliflower

Cauliflower Rice

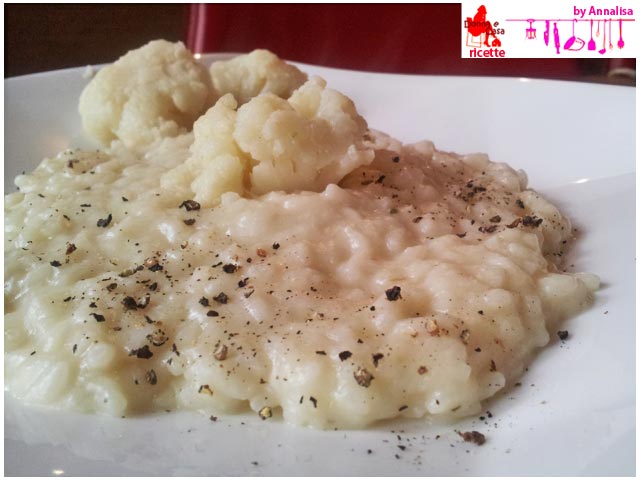
Ciaooooo! In this period I am very busy, we hope to solve some troubles!Today’s recipe is a delicious but simple rise and I’m sure your kids will be able to eat so the cauliflower:

Here is the recipe for rise with cauliflower:

Rise with Cauliflower
 
Preparazione
Cottura
Tempo totale
 
Rise with Cauliflower, for the most delicate palates.
Autore:
Ricetta: First course
Cucina: Italian
Serves: 4
Ingredienti
  • 320 g Carnaroli rice
  • half cauliflower florets
  • 1 onion
  • 2 anchovies
  • vegetable broth
  • parsley
  • white wine to taste
  • 30 g of grated cheese
  • 20 g of butter
  • extra virgin olive oil
Preparazione
  1. In a saute pan with a little oil and add the onion, anchovies and cauliflower florets previously washed.
  2. Season with salt and sprinkle with a little parsley.
  3. Cook about twenty minutes basting with broth.
  4. At this point, add the rice, toast it and blend it with white wine, then go ahead and cook it for 18 minutes, adding broth from time to time.
  5. At end of cooking stir off the heat with butter and cheese.

However, the air will smell the fragrance of spring, hopefully come soon!

Cauliflower Rice 1 Cauliflower Rice 2 Cauliflower Rice 3